Showcars, or streetcars, we all want our cars' to look good. One of the most impressive views of a car is for one to lift the hood and proudly show a detailed engine compartment. But now that some of our cars are over ten years old, and in six digit miles, our engines have looked better. So, for as little as a few bones for a can of paint you can make your engine look like something you can be proud of. Also, painting a part will prevent it from corroding.
Painting with the part removed will be a lot easier. You have the ability to fully clean, prep and paint the object so that it doesn't look like a half effort job. For painting some objects, as the heads while they are attached to the engine, in the compartment, be sure to use lots of masking tape and newspaper that way you don't have to worry about over spray.
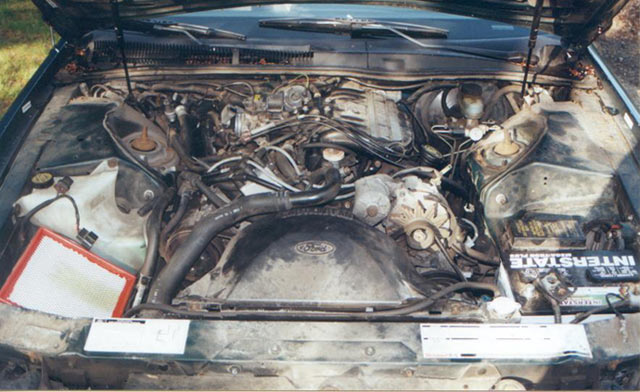
Click here for a before picture.
- Remove the part that you intend to paint. If you are going to be working in the engine compartment be sure that all electrical connections are out of the way.
- Start cleaning up the part. If you are dealing with a greasy object invest in a few cans of carb cleaner. It is the best stuff out there. You can pick up a bottle at Walmart for .80. Use a wire brush to scrub away at the grease. Rinse it thoroughly, with the carb cleaner. It will take quite a few times to do this. So be patient.
- Now depending on how corroded the part is, it will be a good idea to use some sandpaper. Obviously the more corroded the part it, the higher grit paper you will have to use.
- Rinse the part off with carb cleaner. Double check that the matting surface is smooth. Let the part dry in the sun. Paint will not stick to carb cleaner.
- Mask off anything that you don't want to be painted. Such as electrical connections, or grounds.
- Hit the part with engine primer. The 500-degree paint will work for almost anything. The only thing that it has not worked on for me was the exhaust. For this you can get 1000-degree paint. Spray on two or so thin coats. This way it will dry quickly. I have found that engine paint can dry within a couple of hours in the sun.
- Double-check that the primer adhered to everything that you want to paint. Now mask off any additional areas that you want to paint another color, or keep the primer color.
- Spray many thin coats over the part. Let it dry, and you are done.
This process will take some time if you are trying to paint an entire engine while it is in the car and still keeping it on the road every day. It may be a good idea to pick up some spare parts at the local bone yard and clean them up. This way you can just swap the pieces when they are all cleaned up. Then you can keep your original parts for spares or sell them. If you are trying to paint the engine while it is in the car, don't be discouraged. The engine on this page was painted while the engine was in the car.
Click here for the after picture.
|